Printing printers
I bought a printrbot LC kit about a month ago. I had been toying with the idea for a long time, but was spurred on by seeing a 3d printed cat toy that a friend made and realizing that there are relatively inexpensive printer options ($500-600) out there today. At that price it is relatively easy to justify; if my only options were the $2k monstrosities from MakerBot then I would have never purchased one.
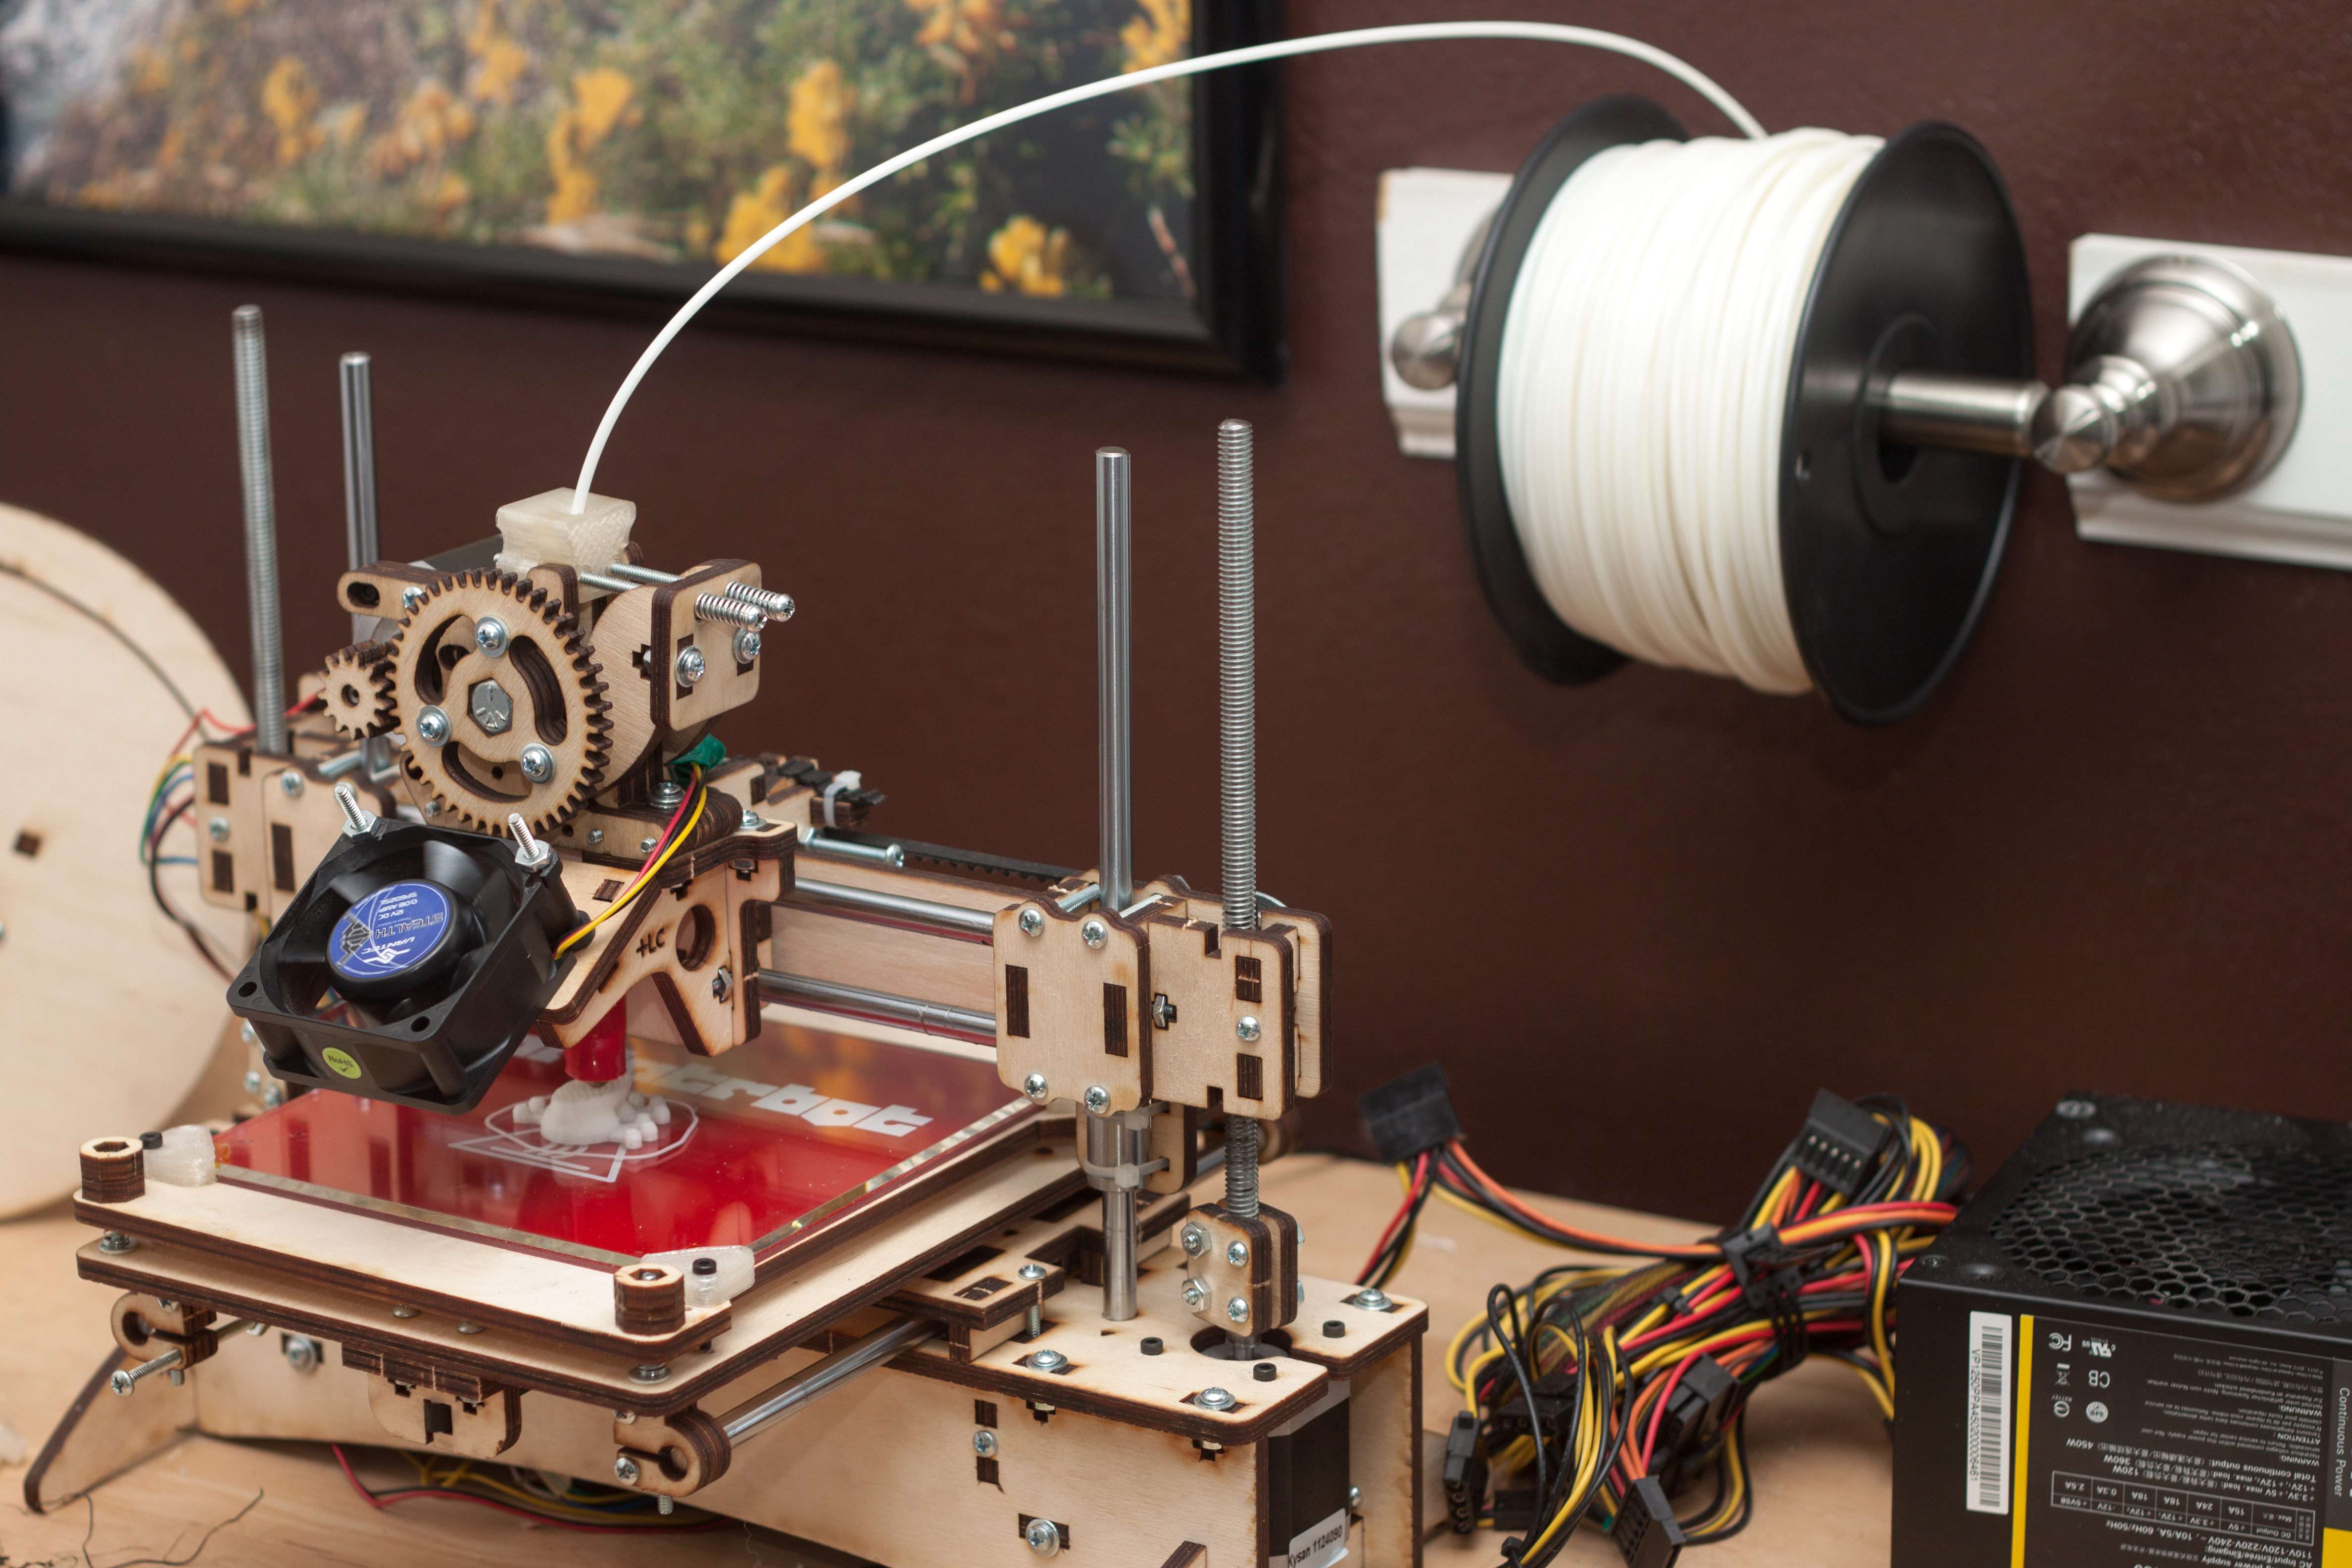
So far I’ve been having a lot of fun and am very happy with my printrbot LC, which I would highly recommend. I occasionally wish that I had purchased the LC+ rather than the LC (200 mm vs. 150 mm of travel along each axis) but it hasn’t been a significant issue so far.
You need a reasonable amount of mechanical, electrical and computer skills for assembly and setup. CAD experience is also helpful for designing things. My wife thinks I’m crazy and would never build one herself. You can buy preassembled printers, but there’s something to be said for knowing how it all fits together so that you can tear it apart to make modifications and debug issues.
There are a few absolutely essential upgrades:
-
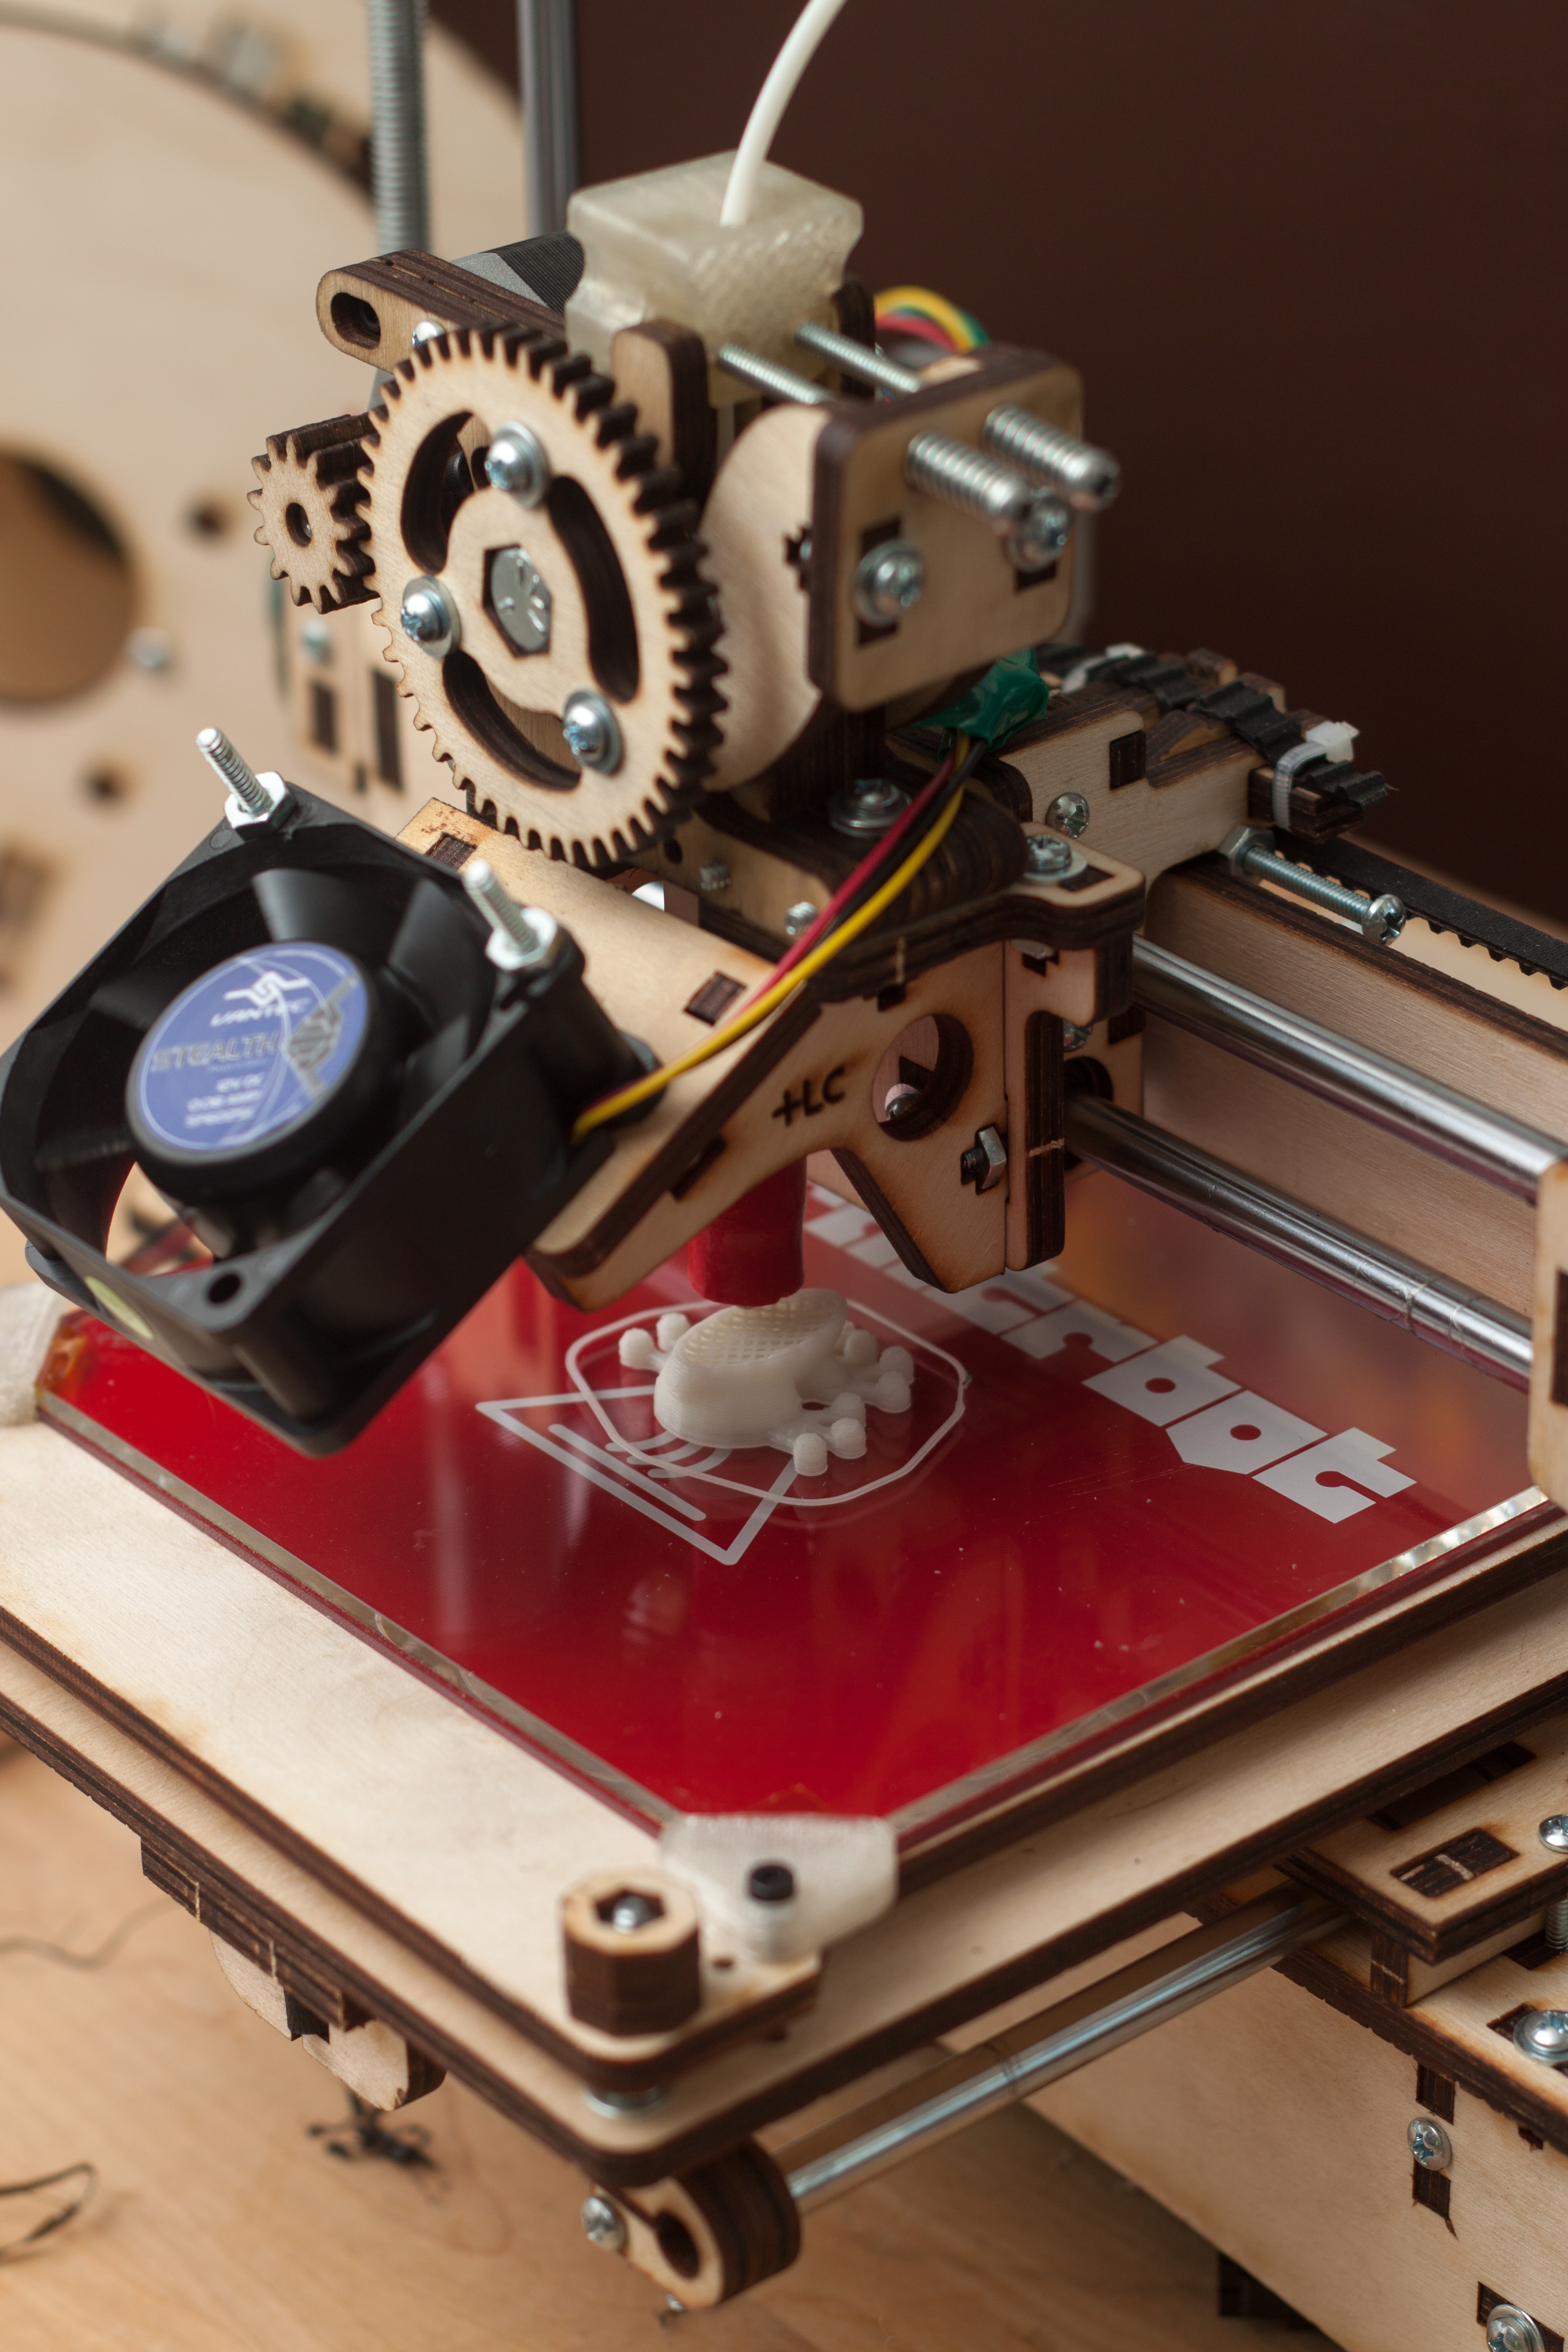
fan, fan mount and three-point bed leveling system. The fan addresses PLA oozing and makes bridging work incredibly well. The leveling system is necessary to get good consistent adhesion. All three of these things are included in the LC v2 (currently shipping) whereas I had to purchase them after the fact.
-
glass bed and clips. I separately purchased the 0.125” x 6” x 6” piece of borosilicate glass from McMaster-Carr to use as my bed. The glass is rigid, hard and chemically inert so easy to clean, and provides good adhesion to PLA. The first thing that I printed (after Mr. Jaws of course!) was a set of clips for holding the glass in place. I taped the glass to the PCB heater for this print, and there was a noticeably amount of sliding around.
-
wall-mounted filament spool holder. I mounted a toilet paper holder onto the wall in my room and it is absolutely perfect for holding a 1 kg spool of filament. It is a much better option that the lasercut spool coaster and spool options from printrbot in that the spool can never slide off yet rotates easily.
-
filament guide. I’d also highly recommend replacing the built-in wooden idler latch with one that has a built-in filament guide. My extruder used to occasionally skip if the incoming filament angle was off-axis; the built-in guide solves this problem.
The glass clips have worked quite well, although the combination of the clips and the leveling bed design effectively reduce my y-range from 150 mm to 110 mm. I will probably design modified clips in the near future.
Adhesion between PLA and the glass bed has generally not been an issue. I’ve printed with natural, red, black and white PLA to date. Only the black PLA has sub-par adhesion, requiring that the glass is squeaky clean and that both the extruder and bed are hotter than normal (e.g. 185/60C typically, 210C/65C for black filament). 1 kg of PLA costs about $30. I’ve purchased spools from from printrbot, Amazon and 3D Printer Hub and haven’t had any issues.
Regarding extruder temperature, I’d recommend running M303 to automatically tune your PID settings if you have a printrboard with Marlin firmware. I use a set of 5 mm calibration cubes and a frog to check print quality whenever I’ve modified anything.
One other tip - rather than trying to fine tune the z-limit screw, I’ve found that using the “Z offset” parameter in Slic3r is much easier way to adjust the degree of first layer squishing. This does not affect the need for the bed to be level, just removes the need to mechanically fine tune any constant offsets. For leveling, I follow the standard procedure of putting a sheet of paper between the extruder tip and bed and adjusting the thumbscrews on the bed to yield a constant and light amount of rubbing between the paper and tip across the bed.
I’ve come across a lot of useful links. Here are some of the better ones that I’d recommend checking out: 1, 2, 3, 4, 5, 6, 7, 8, 9, 10.